



You're at the bench with a flask that doesn't look clean enough to trust and a count you need before the next step can happen. Maybe it's a primary culture with clumps, a recovery from thaw, or a sample with enough debris that every square under the microscope feels ambiguous. That's exactly where a hemocytometer still earns its place, because the hard part usually isn't the arithmetic, it's deciding whether the suspension is good enough to count at all.
Table of Contents
- Get the suspension representative before the stain goes in
- Decide whether the sample is countable before you stain everything
- Fill the chamber by capillary action, then check the pattern
- Use a simple calculation and keep the logic visible
- Read the sample before you trust the chamber
- Use a stop rule instead of grinding through a bad sample
Why Counting Cells With a Hemocytometer Still Matters
A hemocytometer is still the default in many labs because it gives you a direct look at the sample you have, not the sample you wish you had. That matters most when the suspension is heterogeneous, the viability is shaky, or the prep includes mixed primary cells, dissociated tissue, or stressed cultures that don't behave like neat textbook examples. The practical value of how to use hemocytometer well is that it forces you to confront sample quality before you commit to downstream work.
The bench reality behind the method
Most guides focus on the basic load, count, calculate routine, but the actual failure modes appear earlier. Standard protocols explicitly warn that the sample should be resuspended immediately before loading, that air bubbles or uneven filling require reloading, and that consistent boundary rules are needed to avoid double counting, which tells you where the method is most fragile in practice, as described by ZEISS.
That same fragility is why hemocytometry stays useful. If a sample is clumpy or dirty, automation won't magically make the underlying biology cleaner, and a manual chamber can still be the fastest way to judge whether you're dealing with a usable suspension or a prep that needs more work. The point isn't that the hemocytometer is universally best. The point is that it's still one of the few tools that lets an experienced operator see the sample structure while counting it.
Practical rule: If you can't agree on what a single cell looks like in your prep, the count is already at risk, regardless of the math.
What you should expect to get out of the chamber
A good hemocytometer count gives you three things at once, a concentration estimate, a viability read, and a sanity check on the suspension quality. That combination is why people still reach for it when a sample is awkward. If the suspension is clean and the cells are distinct, the method is straightforward. If the suspension is messy, the chamber tells you quickly whether manual counting is still defensible or whether you should stop pretending the sample is simple.
What You Need on the Bench Before You Start
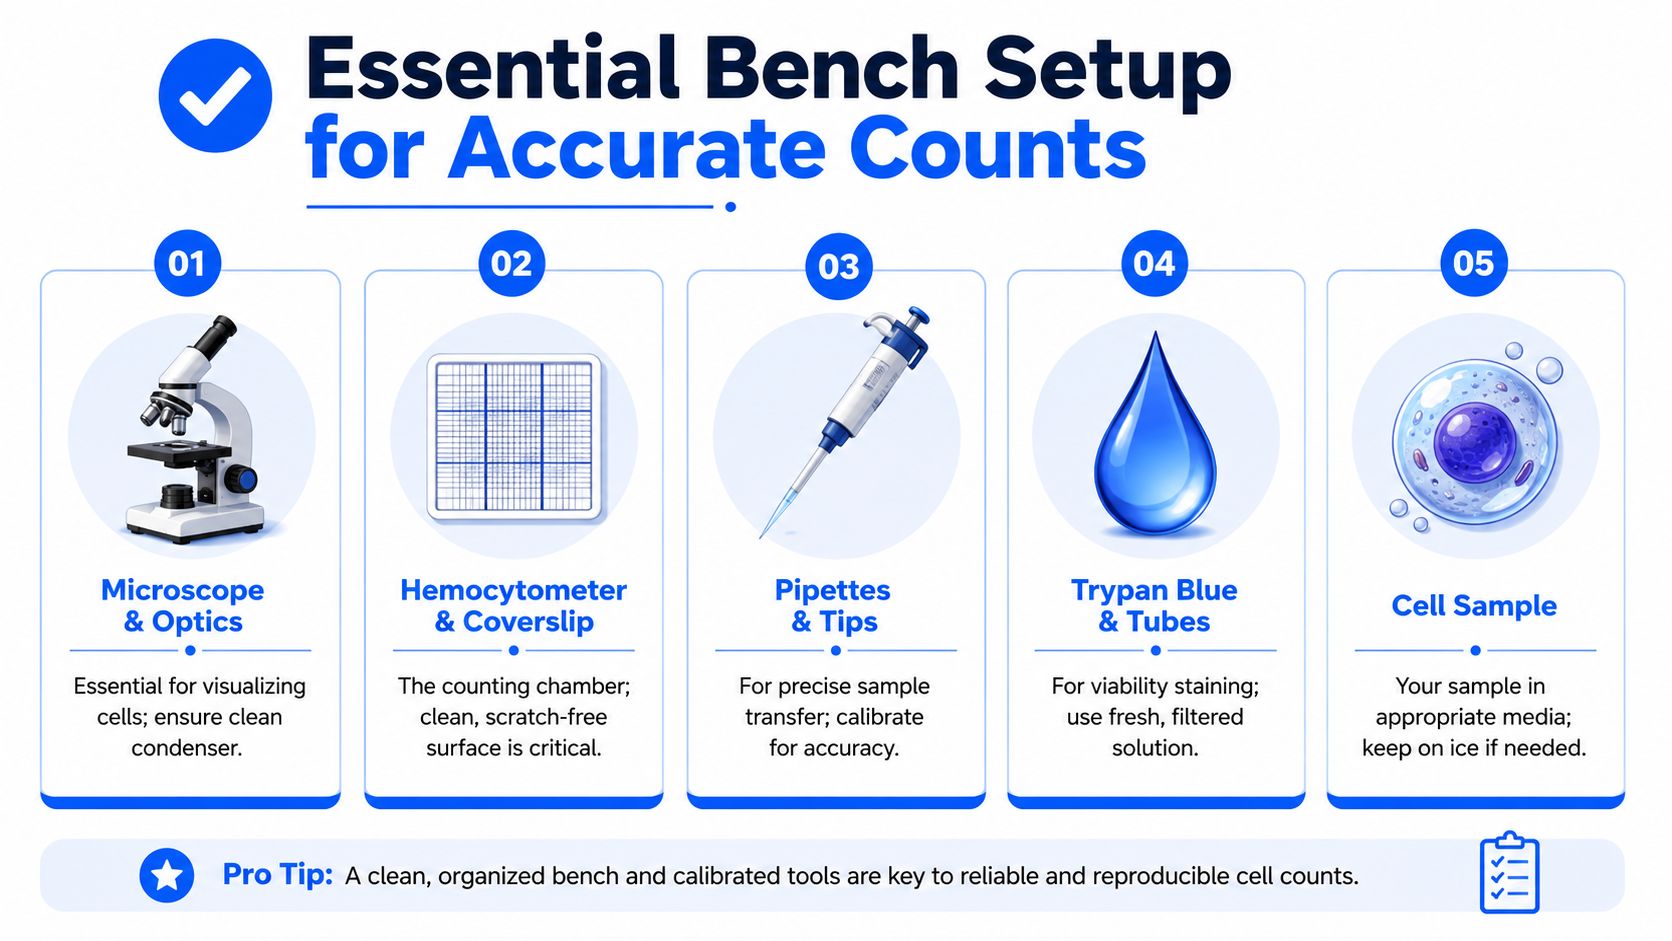
The bench setup matters more than most operators admit. A clean chamber, the right coverslip, a stable microscope, and a sensible dilution plan do more for your final number than any amount of careful reciting of counting rules. The wrong setup creates errors you can't fix later, because the chamber volume and the way cells distribute under the coverslip are part of the measurement itself.
Assemble the right tools, not just any tools
At minimum, you need the hemocytometer, the matching special coverslip, a microscope with workable contrast, calibrated pipettes, low-retention tips, fresh trypan blue, and clean tubes for mixing. The chamber and coverslip are not interchangeable accessories, they define the counting volume, so scratches, dust, or a poor fit can undermine the count before you start. For a practical walkthrough of microscope slide handling and why slide condition matters, Material Handling USA's insights are a useful reference point.
Grid choice matters too. If your cells are small and evenly distributed, a standard grid works well. If your sample has a wider size range or you know the suspension tends to concentrate in certain fields, you want a setup that lets you count consistently rather than improvise grid selection at the scope. The goal is not elegance, it's reproducibility.
Plan the dilution before you touch the chamber
The biggest pre-count decision is whether the suspension will land in a countable range. If the chamber is packed, you'll waste time arguing with overlap and boundary calls. If it's too sparse, your estimate will swing from square to square and you'll get a number that looks precise but isn't. A simple dilution plan, often a quick starting dilution followed by adjustment if needed, is better than loading blind and hoping the first chamber is usable.
Bench rule: Choose the dilution that makes the first field readable, not the dilution that makes the pipetting easiest.
Your pipette matters here. At the 10 µL scale, sloppy technique turns into large relative error fast, especially if you're mixing tiny aliquots of stain and suspension. Work deliberately, pre-wet tips if that's your lab's habit, and keep the transfer volumes consistent. This isn't a ritual. It's how you avoid building error into the sample before it reaches the grid.
Preparing Your Sample and Mixing With Trypan Blue
The hardest part of how to use hemocytometer correctly is usually not loading the chamber. It's making a single-cell suspension that represents the sample. Clumps, settled cells, and debris all distort the count in different ways, and each one requires a different judgment call. If you rush this step, you can do everything else right and still end up with a number that doesn't reflect the culture.

Get the suspension representative before the stain goes in
Resuspend the sample immediately before you take the aliquot. That instruction appears in standard protocols for a reason, because cells settle, clumps reform, and the first drop you pull from a lazy suspension is rarely representative. If the tube visibly stratifies between mixing and loading, mix again. If you can't disperse the sample without obviously damaging fragile cells, the problem isn't the chamber, it's the prep.
Trypan blue mixing is usually simple, but the details matter. A 1:1 mix is common, and some workflows use a 1:2 relationship depending on the protocol and the chamber plan. Whatever ratio you use, keep it consistent within the run, because the dilution factor becomes part of the final calculation and the stain readout depends on the same sample being loaded across both chambers.
Decide whether the sample is countable before you stain everything
A debris-heavy or obviously clumpy sample needs a quick reality check. If individual cells are still visible after gentle mixing, you can often proceed and count with caution. If the field looks like an aggregate of clumps plus granular debris, the number you get may be less useful than the time you'll spend collecting it. In that case, filtration, a cleaner dissociation step, or a fresh prep may save more time than forcing a count.
The stain readout also gets subjective when viability is poor. Dead cells can take up trypan blue, but when viability drops and the field is crowded with debris, distinguishing blue cells from fragmented material becomes less reliable. That's where operator judgment starts to dominate the result, and judgment is not a substitute for sample quality.
For a broader sample-handling perspective, sample prep for lab professionals is worth reading alongside your local protocol because it reinforces the part often skipped, turning a mixed suspension into something you can trust.
Decision point: If you can't tell whether objects are cells or debris after adjusting focus, don't call the count “careful” just because it was slow.
Loading the Chamber and Counting Cells Correctly
Loading should be gentle enough that capillary action draws the sample into the chamber. Don't inject the suspension into the space, and don't force it into the grid. You want the chamber to fill evenly, with no bubbles and no overfill. If you see either problem, reload. A compromised fill is not a usable count, even if the cells look nicely distributed afterward.

Fill the chamber by capillary action, then check the pattern
Touch the pipette tip to the edge of the chamber inlet and let the liquid spread naturally. A good fill looks smooth and even across the grid. If the liquid pulls unevenly, traps a bubble, or spills past the chamber edge, start over. A few seconds spent reloading is cheaper than building a count on a bad volume.
Once the slide is on the microscope, settle on one counting pattern and stick to it. The whole point of a boundary rule is consistency, not creativity. The common approach is to count cells touching two borders and exclude the opposing pair, which prevents double counting when adjacent squares share edges. The exact convention matters less than using the same one across every chamber and every operator in the lab.
Use a simple calculation and keep the logic visible
If you're counting a viable suspension stained with trypan blue at a 1:1 dilution, the dilution factor is 2. Suppose you count 325 cells across 5 large squares, which gives an average of 65 cells per square. Using the standard large-square chamber volume of 0.0001 mL per square from the hemocytometer geometry described in the hemocytometer primer, the calculation is 65 × 2 × 10,000 = 1,300,000 cells/mL, or 1.3 × 10^6 cells/mL as outlined in the hemocytometer guide.
If the stained field also shows 325 total cells and the live versus dead split supports a viability readout, record that separately rather than folding it into the concentration number. The calculation is only useful if you keep the steps transparent enough to audit later. When counts are shared between people or repeated across days, that transparency is what keeps the method from turning into a habit with no traceability.
Count the same squares the same way every time. The chamber rewards consistency more than interpretation.
Troubleshooting Clumps, Debris, and Tricky Viability Calls
Clumping is the classic reason a hemocytometer count goes sideways. One clump can distort multiple squares, and the problem gets worse when the cells are fragile enough that aggressive dispersion creates a different error by shredding them. The right response depends on what the sample is doing, not on how much you want to finish the count.

Read the sample before you trust the chamber
If clumps persist after gentle mixing, don't assume the field is randomly distributed. Re-dissociate if your cell type tolerates it, or filter the suspension if your protocol allows filtration without losing the relevant population. If the clumps are still present after that, the sample may be too heterogeneous for a manual count to represent the culture accurately.
Debris creates a different problem. It can sit near the same size and color range as dead cells, especially when viability is low, and that's where trypan blue interpretation becomes subjective. Adjust focus and compare structure, not just color. Dead cells usually retain recognizable cell geometry while taking up stain, while debris often looks irregular and fragmented. If you can't make that distinction reliably, the result is not strong enough for a decision.
Use a stop rule instead of grinding through a bad sample
A low-viability sample can still be countable, but only if the field is readable. If the proportion of blue objects is so high that the count turns into an argument about what's alive, move to another method or prepare a cleaner sample. Serial dilution can help when the chamber is overcrowded, but dilution won't solve a bad suspension. It only makes a crowded bad suspension less crowded.
Practical rule: If you need to defend every object in the field one by one, the sample has stopped being a counting problem and become a sample-quality problem.
When you see uneven loading, bubble formation, or a spread pattern that changes across the chamber, reload rather than averaging through the mess. That advice sounds conservative, but it prevents false confidence. The hemocytometer is strongest when it gives a quick, direct answer. It is weakest when you ask it to rescue a sample that never became a single-cell suspension in the first place.
When to Switch From a Hemocytometer to an Automated Counter
A hemocytometer is the right tool when you need direct visual control, low overhead, and a count that reflects what you personally saw under the scope. Automated image-based counters and flow-based methods make more sense when the sample is messy, the workload is repetitive, or the interpretation burden is too high for manual scoring. The decision comes down to where the uncertainty sits.
| Method | Approx. Cost | Best Sample Type | Throughput | Accuracy on Messy Samples |
|---|---|---|---|---|
| Hemocytometer | Low | Clean to moderately heterogeneous suspensions | Lower | Depends heavily on operator judgment |
| Automated image-based counter | Higher upfront | Routine suspensions, repeated counts | Higher | Better than manual for many workflows, but still limited by debris and clumps |
| Flow-based method | Higher instrument burden | Samples needing deeper phenotyping or more complex analysis | High | Strong when the assay is well designed, but not a universal fix |
If your samples are consistently clumpy, debris-laden, or hard to interpret with trypan blue, switching can save more time than it costs. The same is true when many users need to generate comparable counts, because manual interpretation varies from person to person. In contrast, if your lab counts only occasional samples and those samples are usually readable, the hemocytometer remains the simplest defensible choice.
The cleanest decision rule is this, use a hemocytometer when the suspension is readable and you need direct oversight. Move to automation when the sample quality or workflow scale makes that judgment unreliable. For a lab that lives in the middle, with both clean and messy samples on different days, the best workflow is often both tools, each used where it performs best.
If your lab is trying to reduce counting ambiguity and keep sample prep decisions traceable, Polymerize can help you organize experimental data, compare workflows, and keep the next run from repeating the same mistakes. Visit Polymerize to see how a centralized data backbone and AI-guided experimentation can support more consistent lab decisions.
Put your R&D data to work
See how materials teams use Polymerize to plan fewer experiments and reach target properties faster.